<h1>How To Photograph Food For An Editorial</h1> <div class="howto-guide"> <div class="howto-hero"> <div> <p class="howto-summary">Learning how to photograph food for an editorial means capturing dishes in a way that tells a story, fitting a publication's specific theme and visual style. This guide will walk you through planning, styling, shooting, and editing to create stunning, professional-grade food photography. It's especially useful for photographers aiming to work with magazines, cookbooks, websites, or any publication that demands high-quality, narrative food imagery.</p> </div> <div class="howto-quick-card"> <h2>Fast Answer</h2> <ul> <li><strong>Key Focus:</strong> <span>Storytelling through visual composition and light</span></li> <li><strong>Essential Gear:</strong> <span>Camera, macro/prime lens, tripod, natural or controlled light</span></li> <li><strong>Primary Goal:</strong> <span>Create compelling images that support an article's narrative</span></li> </ul> </div> </div> <div class="howto-stat-grid"> <div><strong>4-8 Hours:</strong> <span>Time needed (per shoot)</span></div> <div><strong>Intermediate</strong> <span>Difficulty</span></div> <div><strong>Food degradation</strong> <span>Watch out for</span></div> </div> <div class="howto-prep"> <h2><span class="howto-icon howto-icon-wave" aria-hidden="true"></span>Before You Start</h2> <p>Before you even think about picking up your camera, a successful editorial food shoot requires careful planning and preparation. Understanding the client's brief and having the right tools ready are crucial for capturing the perfect image.</p> <h3>What You Need</h3> <ul> <li><strong>Camera:</strong> A DSLR or mirrorless camera offering manual control over settings.</li> <li><strong>Lenses:</strong> A prime lens (like 50mm or 85mm) for sharp details and beautiful background blur, or a macro lens for extreme close-ups. A wider zoom lens (e.g., 24-70mm) can also be useful for broader scene shots.</li> <li><strong>Tripod:</strong> Essential for sharp images, especially in lower light, and for consistent framing between shots.</li> <li><strong>Lighting:</strong> <ul> <li><strong>Natural Light:</strong> A large window for soft, diffused light.</li> <li><strong>Artificial Light:</strong> If natural light is insufficient, consider a strobe or continuous LED light with a large softbox or diffuser.</li> </ul> </li> <li><strong>Light Modifiers:</strong> Diffusers (to soften harsh light), reflectors (to bounce light into shadows), and flags (to block unwanted light).</li> <li><strong>Backdrops and Surfaces:</strong> Various textures and colours like wooden boards, slate, linen, or painted surfaces to complement the food.</li> <li><strong>Props:</strong> Cutlery, plates, bowls, glassware, fabric napkins, small ingredients, herbs, or garnishes that fit the editorial theme.</li> <li><strong>Styling Tools:</strong> Tweezers, brushes, cotton buds, paper towels, spray bottles (for misting fresh produce), and a variety of small containers.</li> <li><strong>Computer and Editing Software:</strong> For post-processing your images.</li> </ul> <h3>Safety, Timing, or Context Checks</h3> <p>The success of your editorial food photography hinges on careful checks before and during the shoot:</p> <ul> <li><strong>Understand the Editorial Brief:</strong> Always begin by thoroughly reading and understanding the client's brief. What is the story? What mood or feeling should the images convey? Are there specific colours, angles, or styles requested? This context is paramount for how to photograph food for an editorial effectively.</li> <li><strong>Food Freshness:</strong> Plan your cooking and shooting schedule so the food is prepared just before it needs to be photographed. Food can degrade quickly, losing its freshness, colour, and texture.</li> <li><strong>Temperature Control:</strong> If shooting cold dishes like ice cream, work quickly in a cool environment. For hot dishes, ensure steam or condensation is visible if desired, but manage it before it fogs the scene or makes food look unappetising.</li> <li><strong>Allergens/Dietary Needs:</strong> While less critical for photography alone, if anyone will be consuming the food, be aware of any allergies or dietary restrictions during preparation.</li> <li><strong>Cleanliness:</strong> A clean working area is vital. Ensure all props, surfaces, and cutlery are spotless. Even tiny crumbs or smudges will show up in high-resolution images.</li> <li><strong>Lighting Consistency:</strong> If using natural light, be aware of changes in intensity and direction as the sun moves. If using artificial light, ensure it's set up consistently to avoid shifting shadows or colour casts.</li> </ul> <div class="howto-callout howto-callout-warning"><strong>Check first:</strong> Always clarify the specific editorial requirements regarding resolution, aspect ratio, file format, and any unique stylistic guidelines before the shoot. This ensures your final images are ready for publication without needing extensive reworks.</div> </div> <div class="howto-steps"> <h2>Step-by-Step Instructions</h2> <div class="howto-step"> <div class="howto-step-body"> <h3>1. Deconstruct the Brief and Plan Your Shot List</h3> <p>Before touching your camera, you must fully grasp the editorial's vision. Read the brief multiple times. What is the article about? Is it a recipe feature, a restaurant review, or a story about a specific ingredient? Identify the key dishes or ingredients that need to be featured. Create a detailed shot list that outlines each image you need, specifying the desired mood, angle (overhead, 45-degree, straight-on), and any specific props or backgrounds. This planning phase is critical for how to photograph food for an editorial successfully.</p> <div class="howto-callout howto-callout-tip"><strong>Tip:</strong> Create a mood board with example photos, colours, and textures that match the editorial's aesthetic. Share this with the client to ensure everyone is aligned.</div> </div> </div> <div class="howto-step"> <div class="howto-step-body"> <h3>2. Gather and Prepare Your Scene Elements</h3> <p>With your shot list ready, gather all your props, backdrops, and surfaces. Select items that complement the food and the editorial's theme without distracting from the main subject. Iron any fabric napkins, clean all cutlery and glassware, and ensure backdrops are free of dust or imperfections. Arrange your chosen backdrop and main props roughly where you intend to shoot. Consider the colours and textures; they should enhance, not overpower, the food.</p> <div class="howto-callout howto-callout-tip"><strong>Tip:</strong> Use matte or textured props rather than shiny ones to avoid harsh reflections that can be difficult to manage later.</div> </div> </div> <div class="howto-step"> <div class="howto-step-body"> <h3>3. Set Up Your Lighting</h3> <p>Lighting is the single most important element in food photography. For a soft, appealing look, aim for <strong>natural light coming from the side or slightly behind</strong> your food. Position your setup near a large window, but always use a diffuser between the window and the food to soften direct sunlight. If natural light is not available or inconsistent, use an artificial light source (strobe or LED) with a large softbox. Use a reflector opposite your main light source to fill in shadows and prevent them from being too deep. Flags can be used to block unwanted light or create more contrast.</p> <div class="howto-callout howto-callout-tip"><strong>Tip:</strong> Backlighting (light coming from directly behind the food) can create a beautiful glow and highlights, especially for liquids or translucent foods, making them look vibrant and fresh.</div> </div> </div> <div class="howto-step"> <div class="howto-step-body"> <h3>4. Compose Your Shot</h3> <p>Place your camera on a <strong>tripod</strong> and compose your shot. Think about the rule of thirds, leading lines, and negative space. How will the elements in your frame guide the viewer's eye to the main dish? Consider your angle: <strong>overhead (flat lay)</strong> is popular for showcasing ingredients and patterns, <strong>45-degree angle</strong> is versatile and natural, and <strong>straight-on</strong> is great for highlighting height and texture. Arrange your main dish and then thoughtfully place supporting props around it to build the scene, ensuring they contribute to the story and don't create clutter.</p> <div class="howto-callout howto-callout-tip"><strong>Tip:</strong> Leave some empty space in your composition – this is called negative space – which can help your main subject stand out and gives the eye a place to rest.</div> </div> </div> <div class="howto-step"> <div class="howto-step-body"> <h3>5. Style the Food</h3> <p>This is where the food really comes alive. Once your scene and lighting are set, bring in the prepared dish. For editorial work, the food must look absolutely perfect and appealing. Garnish sparingly with fresh herbs, spices, or a drizzle of sauce. Use tweezers to precisely place individual grains, crumbs, or garnishes. A small brush can remove unwanted dust or crumbs. If the food starts to look dry, a light mist of water or edible oil can revive its appearance. Focus on making the food look fresh, delicious, and inviting, true to its nature.</p> <div class="howto-callout howto-callout-tip"><strong>Tip:</strong> Work quickly when styling, especially with perishable items. Have all your styling tools ready and your camera settings dialled in so you can shoot immediately after the food is perfectly styled.</div> </div> </div> <div class="howto-step"> <div class="howto-step-body"> <h3>6. Dial In Your Camera Settings</h3> <p>With the food styled and the scene ready, it's time to capture the image. Shoot in <strong>RAW format</strong> for maximum flexibility in post-processing. <ul> <li><strong>Aperture (f-stop):</strong> For a shallow depth of field (blurry background, sharp food), use a wider aperture like <strong>f/2.8 to f/4</strong>. For more of the scene in focus (common for flat lays), use <strong>f/5.6 to f/8</strong>.</li> <li><strong>ISO:</strong> Keep your ISO as low as possible, typically <strong>ISO 100 or 200</strong>, to avoid digital noise. Your tripod helps maintain a low ISO.</li> <li><strong>Shutter Speed:</strong> Adjust your shutter speed to achieve correct exposure, ensuring it's fast enough to prevent blur if shooting handheld, or simply to get the right exposure if on a tripod.</li> <li><strong>White Balance:</strong> Set your white balance manually to match your light source (e.g., "Daylight" for natural light, or a custom setting). This ensures accurate colours.</li> </ul> </p> <div class="howto-callout howto-callout-tip"><strong>Tip:</strong> Take multiple shots with slightly different settings or minor adjustments to the food. This increases your chances of getting the perfect image.</div> </div> </div> <div class="howto-step"> <div class="howto-step-body"> <h3>7. Review and Refine On-Set</h3> <p>After taking your initial shots, review them critically on your camera's LCD screen or, ideally, tethered to a larger monitor. Look closely at the focus, exposure, white balance, and composition. Are there any distracting elements? Is the food truly appealing? Are there unwanted reflections or shadows? Make small adjustments to your lighting, styling, or camera settings and reshoot until you are confident you have captured the required images. It's much easier to fix issues on-set than in post-production.</p> <div class="howto-callout howto-callout-tip"><strong>Tip:</strong> Zoom in on the image playback to check for sharpness. A blurry main subject is often unusable for editorial work.</div> </div> </div> <div class="howto-step"> <div class="howto-step-body"> <h3>8. Post-Process Your Images</h3> <p>Once the shooting is complete, transfer your RAW files to your computer for editing. Use software like Adobe Lightroom or Capture One. <ul> <li><strong>Cropping and Straightening:</strong> Crop to the desired aspect ratio (if specified) and ensure horizons or table lines are straight.</li> <li><strong>Exposure and Contrast:</strong> Adjust these to make the image bright and vibrant without blowing out highlights or crushing shadows.</li> <li><strong>White Balance and Colour Correction:</strong> Fine-tune your white balance for accurate colours. Make subtle adjustments to individual colours to enhance the food's appeal (e.g., increasing saturation slightly for vibrant fruits).</li> <li><strong>Sharpening and Noise Reduction:</strong> Apply selective sharpening to the food to make it crisp. Use noise reduction sparingly if your ISO was high.</li> <li><strong>Spot Removal:</strong> Carefully remove any dust, crumbs, or minor imperfections that were missed during styling.</li> </ul> </p> <div class="howto-callout howto-callout-tip"><strong>Tip:</strong> Always edit with a light touch. The goal is to enhance the natural beauty of the food, not to make it look artificial. Aim for a consistent look across all images for the editorial.</div> </div> </div> </div> <div class="howto-cheatsheet"> <h2>Quick Reference</h2> <table> <thead> <tr> <th>Situation</th> <th>Use this</th> <th>Why</th> </tr> </thead> <tbody> <tr> <td>Shallow depth of field (blurry background)</td> <td><strong>Wide aperture (e.g., f/2.8 - f/4)</strong></td> <td>Isolates the food, drawing viewer's eye directly to the subject.</td> </tr> <tr> <td>More of the scene in focus (flat lay)</td> <td><strong>Narrower aperture (e.g., f/5.6 - f/8)</strong></td> <td>Keeps more elements sharp, suitable for showcasing multiple items or patterns.</td> </tr> <tr> <td>Soft, even lighting</td> <td><strong>Large diffuser or softbox</strong></td> <td>Reduces harsh shadows and creates a flattering light on food.</td> </tr> <tr> <td>Lifting shadows / adding sparkle</td> <td><strong>White reflector (opposite light source)</strong></td> <td>Bounces light back into darker areas, adding dimension and brightness.</td> </tr> <tr> <td>Capturing fine details / working in low light</td> <td><strong>Tripod, low ISO (100-200)</strong></td> <td>Ensures sharp images without camera shake and minimises digital noise.</td> </tr> <tr> <td>Food looks dull or dry</td> <td><strong>Light mist of water/oil, brush, fresh garnish</strong></td> <td>Revives appearance, adds freshness and visual appeal.</td> </tr> </tbody> </table> </div> <div class="howto-prep"> <h2>Common Problems When You how to photograph food for an editorial</h2> <p>Even with careful planning, food photography for editorials can present unique challenges. Knowing how to troubleshoot common issues can save your shoot.</p> <ul> <li><strong>Problem: The food looks dull or unappetising.</strong> <p><strong>Fix:</strong> This is often a styling or lighting issue. Ensure your main light source is soft and flattering, often from the side or back. Use reflectors to add sparkle and lift shadows. For styling, make sure the food is fresh, garnished appropriately, and presented neatly. A light mist of water can rehydrate vegetables, and a dab of olive oil can add sheen to cooked meats or pasta.</p> </li> <li><strong>Problem: Harsh shadows or too much contrast.</strong> <p><strong>Fix:</strong> Your light source might be too small or too direct. Use a larger diffuser or softbox to spread the light more evenly. Position your light source further away to make it effectively larger and softer. Introduce a reflector to bounce light into the shadow areas, softening them without making the image flat.</p> </li> <li><strong>Problem: Distracting reflections on shiny surfaces (cutlery, glasses, sauces).</strong> <p><strong>Fix:</strong> Reflections occur when a bright light source (or even a window) is visible in the shiny surface. Adjust the angle of your light source or the position of the prop. Use flags (black cards) to block unwanted light from hitting the reflective surface directly. Sometimes, simply rotating a piece of cutlery slightly can eliminate a distracting glare.</p> </li> <li><strong>Problem: The image is blurry or out of focus.</strong> <p><strong>Fix:</strong> Ensure your camera is on a <strong>tripod</strong> to eliminate camera shake. Double-check your focus point, making sure it's precisely on the most important part of the food. If using a shallow depth of field, even a slight shift can throw off the focus. Consider a slightly narrower aperture (higher f-number) if you're struggling to keep enough of the food in focus.</p> </li> <li><strong>Problem: The colours of the food don't look natural or vibrant.</strong> <p><strong>Fix:</strong> Incorrect <strong>white balance</strong> is usually the culprit. Set your white balance manually to match your light source on set, or use a grey card for a custom white balance reading. In post-processing, fine-tune the white balance and then make subtle adjustments to saturation and vibrance, particularly in the hues specific to the food (e.g., reds for tomatoes, greens for herbs).</p> </li> <li><strong>Problem: The background or props are distracting.</strong> <p><strong>Fix:</strong> Your composition might be too cluttered, or the colours/textures of your props are too strong. Simplify your scene by removing unnecessary elements. Choose props that complement, rather than compete with, the food. If you want a blurred background, use a wider aperture (lower f-number) to create a shallower depth of field, making the background softer and less distracting.</p> </li> </ul> </div> <div class="howto-prep"> <h2>Advanced Tips for how to photograph food for an editorial</h2> <p>Once you've mastered the basics, these advanced techniques can elevate your editorial food photography, making your images truly stand out.</p> <ul> <li><strong>Embrace Negative Space Strategically:</strong> Instead of filling every corner of the frame, intentionally leave significant empty space. This negative space doesn't mean "nothing," but rather areas that allow the viewer's eye to breathe and focus intently on your primary subject. It can create a sense of elegance, simplicity, and sophistication, often desired in high-end editorial work.</li> <li><strong>Master the Art of the "Hero Shot":</strong> Every editorial often has one or two key images that serve as the main attraction. For these "hero shots," invest extra time in styling, lighting, and composition. Consider using a slightly wider aperture to create a beautiful bokeh, isolating the food and giving it a dream-like quality. These images should be impactful and memorable.</li> <li><strong>Tell a Story with Layers and Depth:</strong> Beyond just the main dish, think about what else contributes to the narrative. Use layers in your composition – a foreground element slightly out of focus, the main dish in sharp focus, and a soft background. This adds depth and visual interest, inviting the viewer into the scene rather than just showing them a plate of food. Think about ingredients used, a rustic texture, or a subtle human element like hands interacting with the food (if appropriate for the brief).</li> <li><strong>Experiment with Dynamic Lighting Setups:</strong> While soft side lighting is a staple, explore other lighting techniques. Try a harder light source with flags for dramatic shadows and textures, especially for rustic or moody themes. Combine different light modifiers, like a softbox for the main light and a grid for a rim light, to sculpt the food and add extra dimension.</li> <li><strong>Focus on Imperfections (Deliberately):</strong> Sometimes, perfection can feel sterile. A few strategically placed crumbs, a subtle drip of sauce, or a knife mark on a cutting board can add authenticity and a human touch, making the food feel more real and approachable. This needs to be done with intention and care, not just haphazardly.</li> <li><strong>Consider Motion or Action Shots:</strong> For dynamic editorial pieces, don't shy away from capturing food in motion. Think about pouring sauce, sprinkling ingredients, or a hand reaching for a piece of bread. These shots require faster shutter speeds and often more complex lighting but can bring incredible energy and storytelling to your series. Practice timing and use continuous shooting mode.</li> <li><strong>Develop a Signature Post-Processing Style:</strong> While always adhering to the client's brief, developing a consistent post-processing style across your portfolio will distinguish your work. This could be a specific colour grade, a unique approach to contrast, or a certain texture you bring out. Ensure it enhances the food and fits within editorial standards.</li> </ul> </div> <div class="howto-prep"> <h2>How To Photograph Food For An Editorial FAQ</h2> <p>Here are answers to some frequently asked questions about capturing food for publication.</p> <details class="faq-item"><summary>What is the most important element for editorial food photography?</summary><div class="faq-answer"><p>The most important element is <strong>storytelling</strong>. Editorial food photography isn't just about showing food; it's about conveying a narrative, a mood, or a concept that supports the accompanying article. This is achieved through thoughtful composition, styling, and lighting that works together to evoke emotion and interest.</p></div></details> <details class="faq-item"><summary>Do I need expensive gear to photograph food for an editorial?</summary><div class="faq-answer"><p>While professional gear (a good camera, sharp lenses, and reliable lighting) certainly helps, skill and understanding of light are more crucial. You can achieve excellent results with a mid-range camera and prime lens, especially if you master natural light and food styling. Consistency and attention to detail matter more than the price tag of your equipment.</p></div></details> <details class="faq-item"><summary>How can I make food look fresh and appealing during a long shoot?</summary><div class="faq-answer"><p>Preparation is key. Have multiple portions of the same dish ready if possible. Work quickly and efficiently, especially with perishable items. Use styling tricks like misting vegetables with water, dabbing olive oil on meats, or using ice cubes (or even fake ice) to keep drinks looking cold. For very delicate items, photograph them first.</p></div></details> <details class="faq-item"><summary>What camera settings are best for a crisp, professional look?</summary><div class="faq-answer"><p>Start with a <strong>low ISO (100-200)</strong> to minimise noise. Use an <strong>aperture between f/2.8 and f/8</strong>, depending on how much of the scene you want in focus. For sharp results, always use a <strong>tripod</strong> and adjust your <strong>shutter speed</strong> to achieve correct exposure. Shooting in <strong>RAW format</strong> gives you maximum flexibility in editing.</p></div></details> <details class="faq-item"><summary>Should I use artificial or natural light?</summary><div class="faq-answer"><p>Both can produce excellent results, but consistency is vital for how to photograph food for an editorial. <strong>Natural light</strong> (from a large window, diffused) is often preferred for its soft, pleasing quality. However, it can be inconsistent. <strong>Artificial light</strong> (strobes or continuous LEDs with softboxes) offers complete control over direction and intensity, making it ideal for longer shoots or when natural light is unreliable. Choose what works best for your environment and desired aesthetic.</p></div></details> <details class="faq-item"><summary>How much post-processing is acceptable?</summary><div class="faq-answer"><p>Post-processing should enhance the natural beauty of the food and correct minor flaws, not create an artificial image. Adjustments to exposure, contrast, white balance, and selective sharpening are standard. Avoid over-saturating colours or excessive retouching that makes the food look unrealistic. The goal is to make the food look its best, while still being believable.</p></div></details> <details class="faq-item"><summary>How do I find props and backdrops?</summary><div class="faq-answer"><p>Look for props at antique shops, charity shops, home goods stores, or even in your own kitchen. Consider buying small pieces of wood, slate, or even painting simple MDF boards for backdrops. The key is to select items that complement your food and narrative without overwhelming it. Build a varied collection over time.</p></div></details> </div> <div class="howto-prep"> <h2>Final Checklist for how to photograph food for an editorial</h2> <p>Use this checklist to ensure every aspect of your editorial food photography shoot is covered, from planning to final delivery.</p> <ul> <li><strong>Understand the Brief:</strong> Fully deconstructed the editorial brief and client expectations.</li> <li><strong>Shot List Created:</strong> Developed a detailed shot list outlining required images, angles, and moods.</li> <li><strong>Props and Backdrops Ready:</strong> All scene elements selected, cleaned, and prepared.</li> <li><strong>Lighting Setup Tested:</strong> Main light, diffusers, reflectors, and flags positioned and working correctly.</li> <li><strong>Camera Settings Dialled In:</strong> Camera on tripod, shooting in RAW, with appropriate ISO, aperture, shutter speed, and white balance.</li> <li><strong>Food Prepared and Styled:</strong> Food cooked just before shooting and styled to perfection, looking fresh and appealing.</li> <li><strong>Composition Checked:</strong> Each shot composed thoughtfully, following rules of thirds, leading lines, and ensuring the story is clear.</li> <li><strong>On-Set Review Completed:</strong> Images reviewed on a larger screen (if possible) for focus, exposure, and composition.</li> <li><strong>Backup Plan Ready:</strong> Contingency in place for unexpected issues (e.g., extra ingredients, alternative props).</li> <li><strong>Images Backed Up:</strong> All captured images transferred and backed up immediately after the shoot.</li> <li><strong>Post-Processing Completed:</strong> Images edited to a professional standard, consistent with editorial guidelines.</li> <li><strong>Final Files Delivered:</strong> Images provided in the correct resolution, aspect ratio, and file format as specified by the brief.</li> </ul> </div> </div>
Photo practice
How To Photograph Food For An Editorial
A practical step-by-step guide to how to photograph food for an editorial, including preparation, instructions, common issues, tips, and next steps.
Continue reading

Photo practice
Best Camera Settings For Street Photography Review 2026: Is It Worth It?
A practical Best Camera Settings For Street Photography review covering verdict, pros and cons, scoring criteria, evidence, buyer fit, and final recommendation.
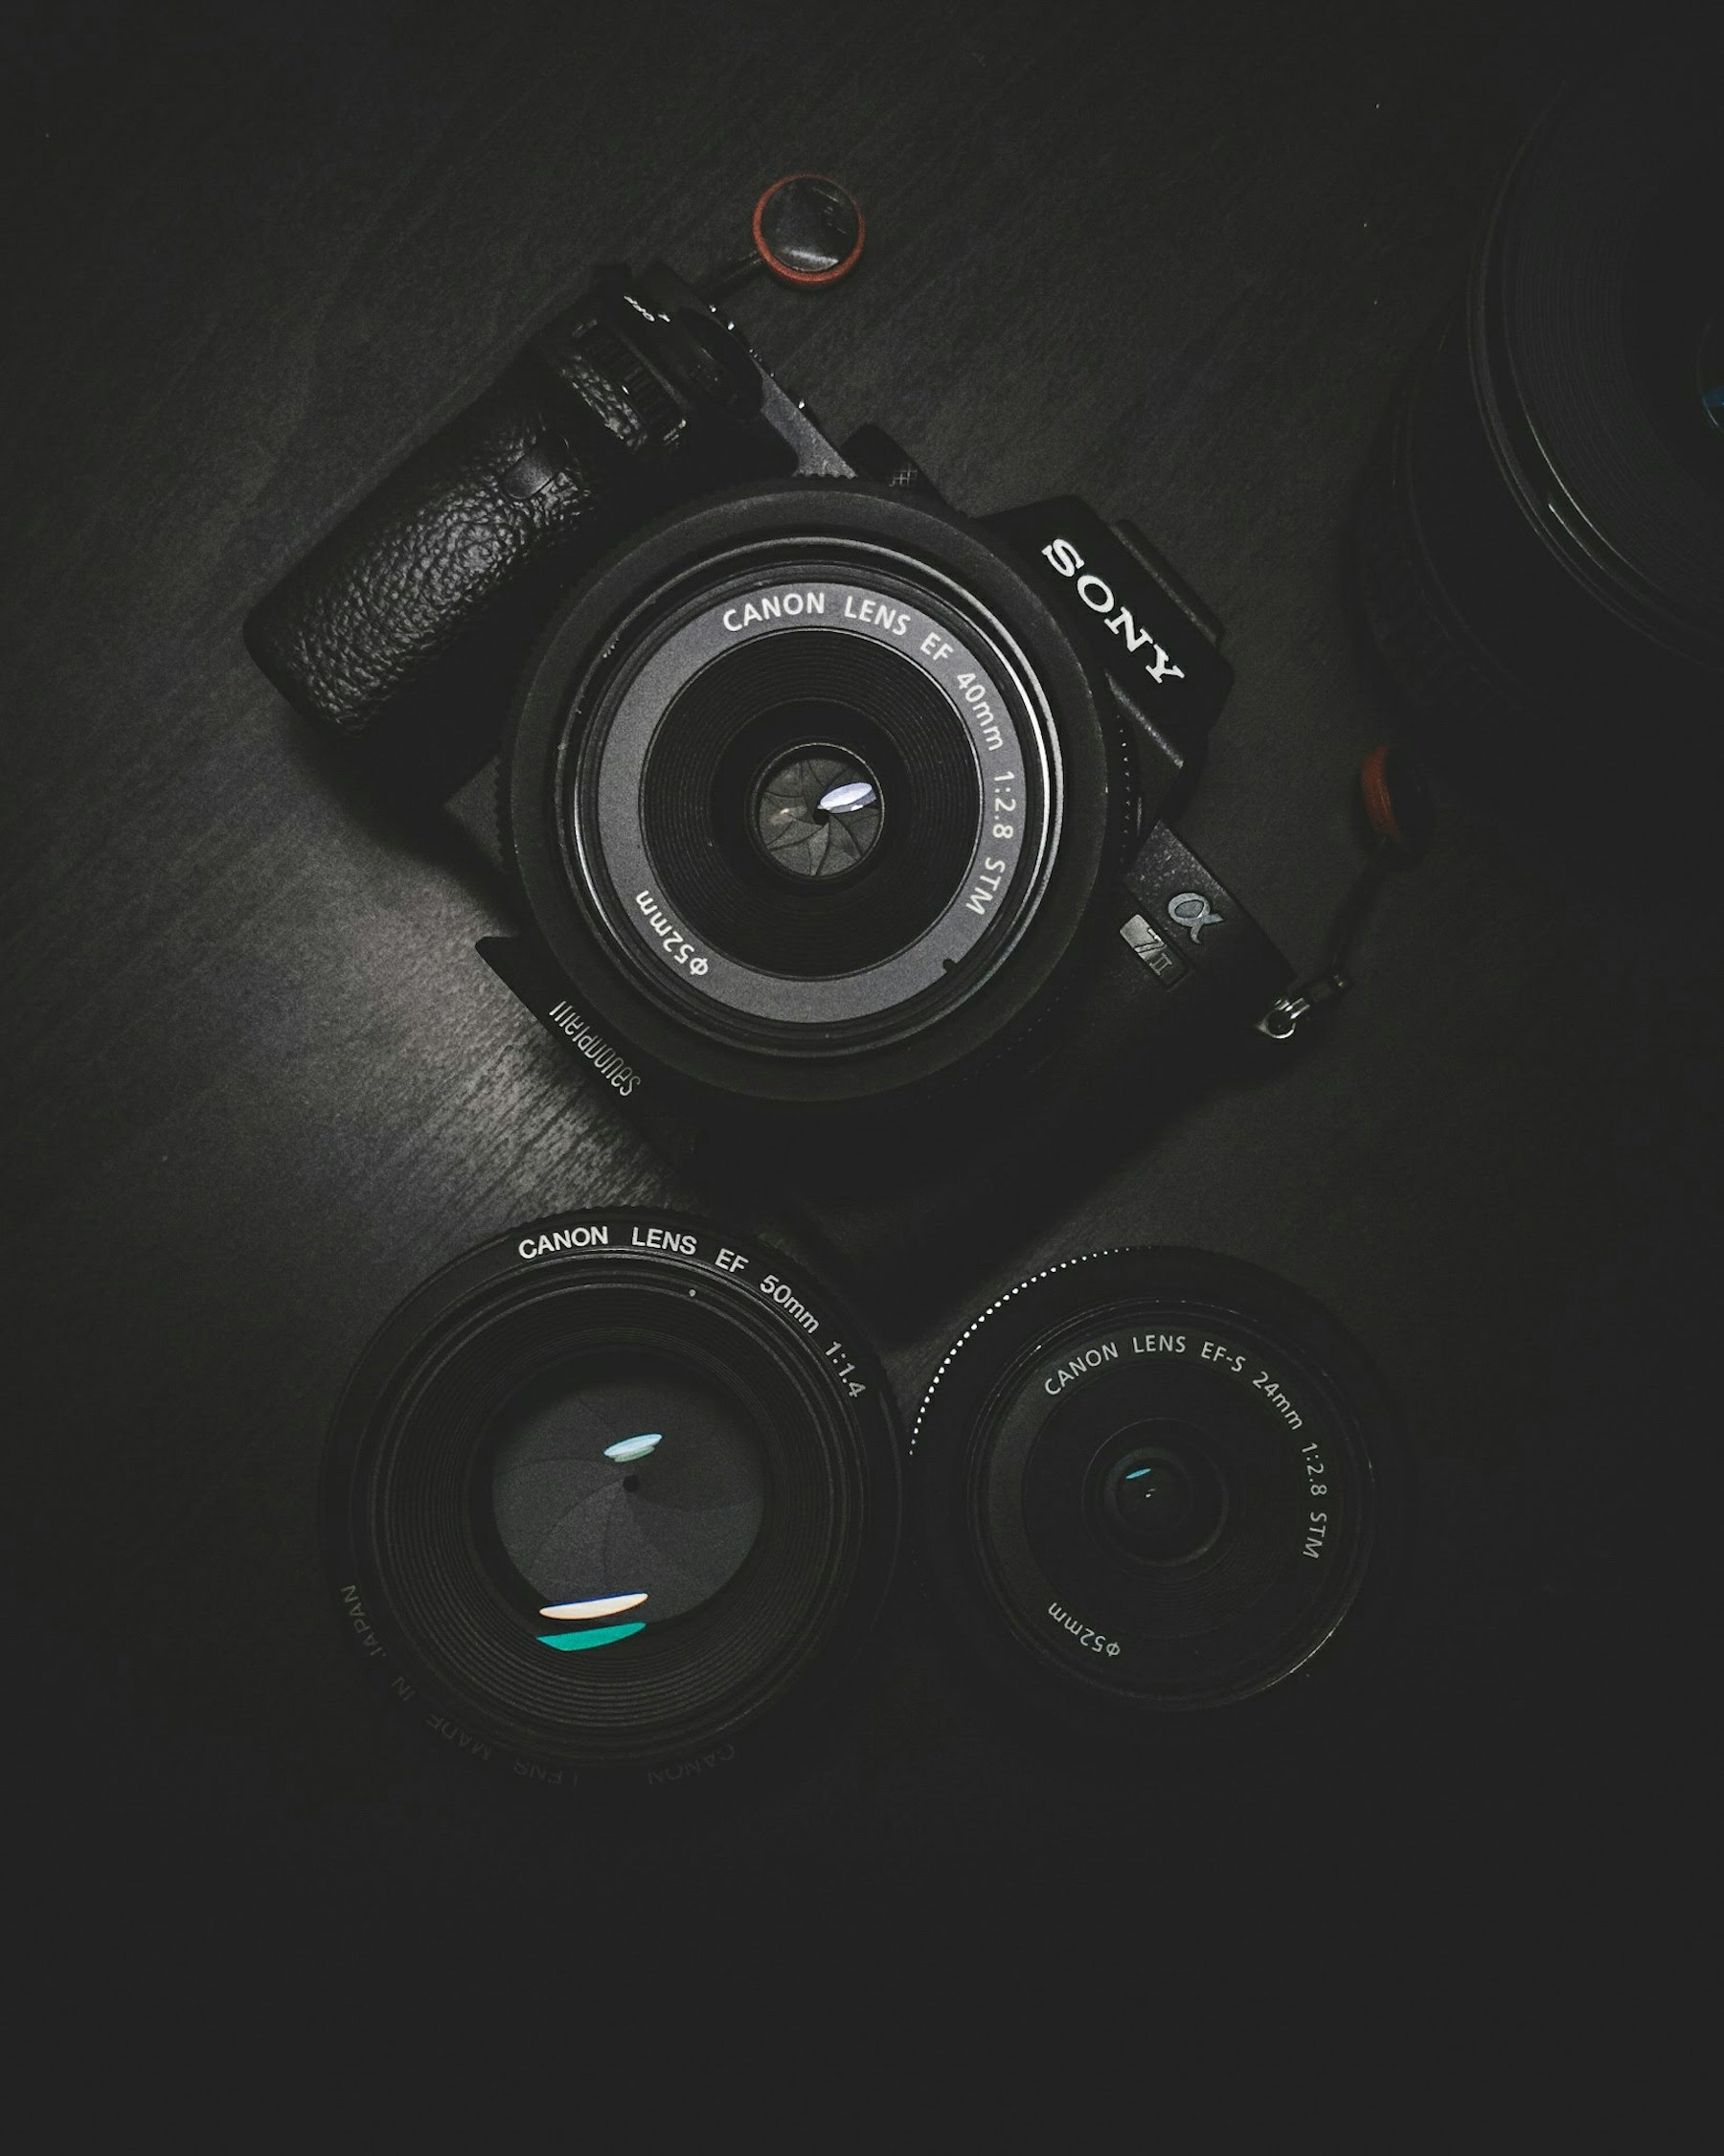
Photo practice
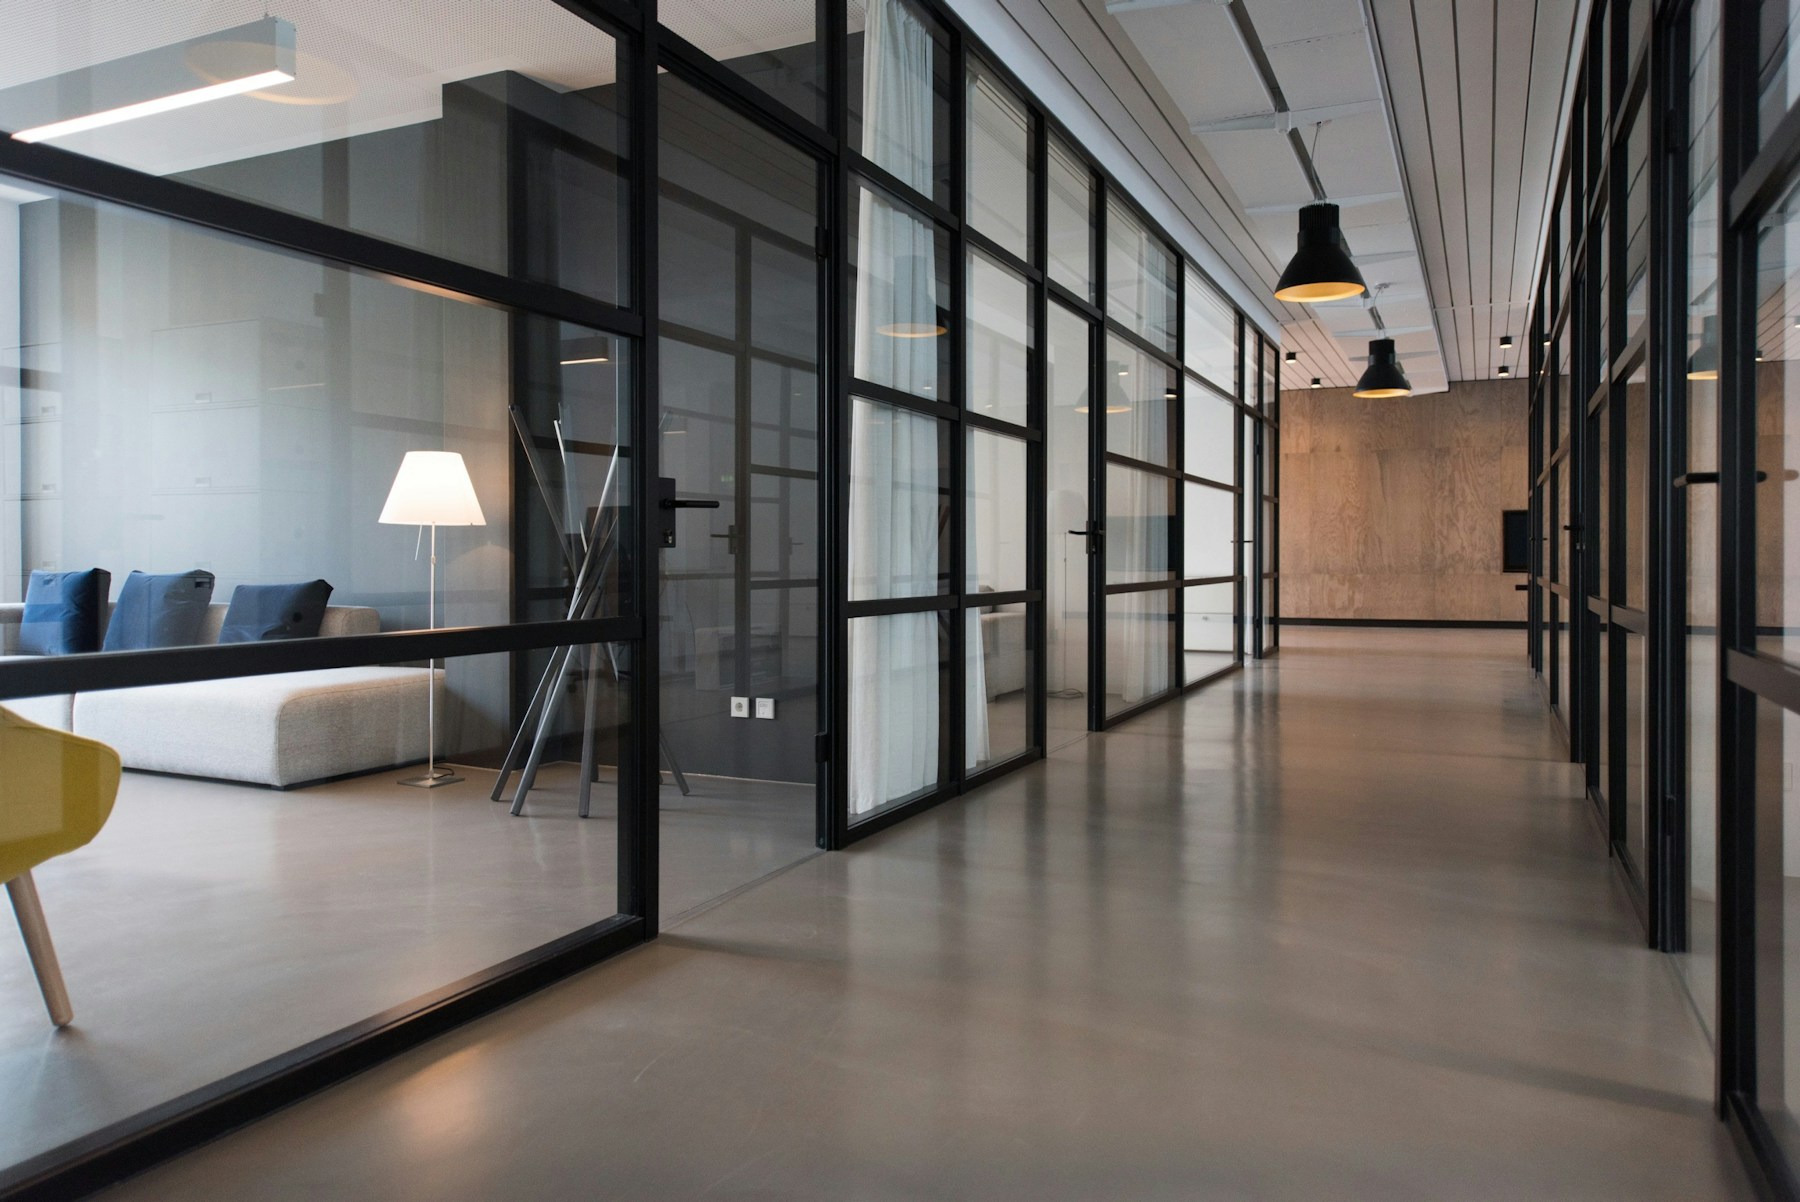
How To Photograph Interiors In Low Light
A practical step-by-step guide to how to photograph interiors in low light, including preparation, instructions, common issues, tips, and next steps.
Photo practice
How To Direct A Portrait Shoot
A practical step-by-step guide to how to direct a portrait shoot, including preparation, instructions, common issues, tips, and next steps.